起步
本章节介绍搭建初步的项目环境。
依赖环境
- node:点击node访问官方下载安装
- vue-cli:
npm install -g vue-cli
提示
国内访问npm官方库可能有些缓慢,你可以设置淘宝的npm镜像:
# 安装 cnpm,用 cnpm 命令替换 npm 命令
npm install -g cnpm --registry=https://registry.npm.taobao.org
# 设置镜像源为淘宝 npm 镜像
npm set registry https://registry.npm.taobao.org
1
2
3
4
2
3
4
初始项目搭建
利用vue-cli3的ui创建vue项目
vue ui
1
运行后浏览器会打开localhost:8000,进入 项目管理器 > 创建 > 选择文件夹,点击在此创建新项目。
- 详情
- 项目文件夹:
llplatform - 包管理器:
npm - 若文件夹存在则覆盖:√
- 初始化git仓库:√,
Init project
- 预设:选择手动
- 功能
- Babel:√
- TypeScript:×
- PWA:×
- Router:√
- Vuex:√
- CSS Pre-processors:√
- Linter / Formatter:√
- Unit Testing:×
- E2E Testing:×
- 使用配置文件:√
- 配置
- Use history mode for router:×
- Pick a CSS Pre-processors:
Sass/SCSS(with dart-sass) - Pick a linter / formatter config:
ESLint + Standard config - Pick additional lint features:
- Lint on save:√
- Lint and fix on commit:×
提示
各技术选型可以参考这篇文章:Vue技术框架
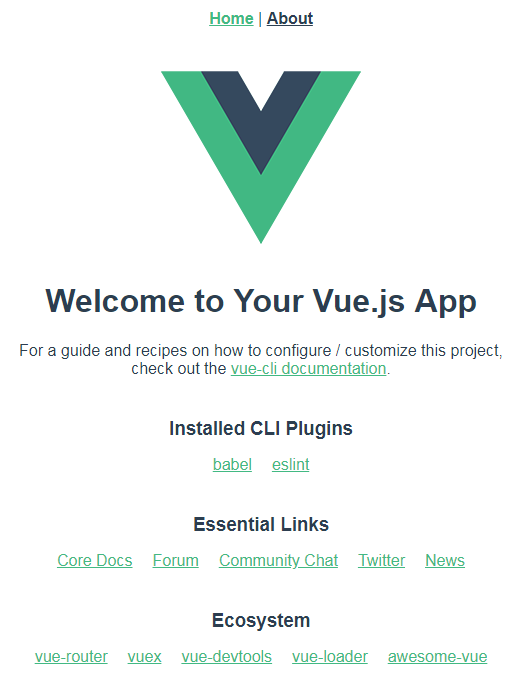
之后vue-cli会开始自动下载依赖,完成后将得到【llplatform】项目,你可以通过以下命令启动它,然后浏览器访问localhost:8080,即可看到一个demo页面:
cd llplatform
npm run serve
1
2
2

安装Element
本项目选择饿了么的Element组件库,个人感觉其风格看起来更舒服。
- 安装Element
npm i element-ui -S
1
- 引入Element:修改
src/main.js文件,添加以下三行
import Vue from 'vue'
import App from './App.vue'
import router from './router'
import store from './store'
import ElementUI from 'element-ui'
import 'element-ui/lib/theme-chalk/index.css'

Vue.config.productionTip = false
Vue.use(ElementUI)

new Vue({
  router,
  store,
  render: h => h(App)
}).$mount('#app')
1
2
3
4
5
6
7
8
9
10
11
12
13
14
15
16
2
3
4
5
6
7
8
9
10
11
12
13
14
15
16
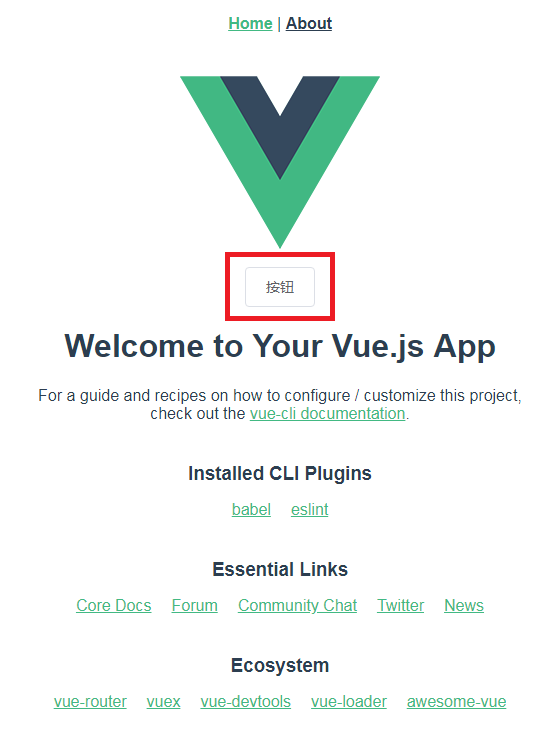
- 此时你已添加了Element,你可以修改
src/components/HelloWorld.vue文件,添加一个Element的按钮组件来查看是否添加成功:
<template>
  <div class="hello">
    <el-button>按钮</el-button>
    <h1>{{ msg }}</h1>
    <h2>Essential Links</h2>
    <ul>
       ......
1
2
3
4
5
6
7
2
3
4
5
6
7

警告
这边的示例全局引入了所有的Element组件,这会导致项目过大,后续你可以参考按需引入, 只引入你所需要的部分组件。
← vue-llplatform 配置 →